Step 1. Register an account
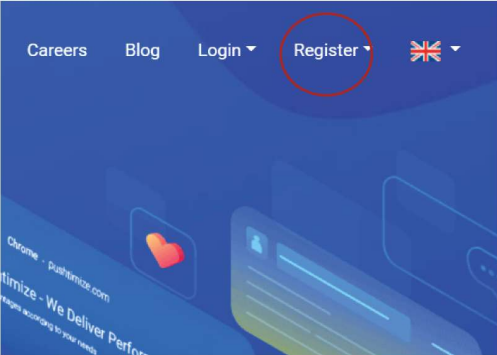
Go to the link https://pushtimize.com/ and select “Register”, register yourself a Publisher account according to the instructions.
Here is you sign up for a Publisher account
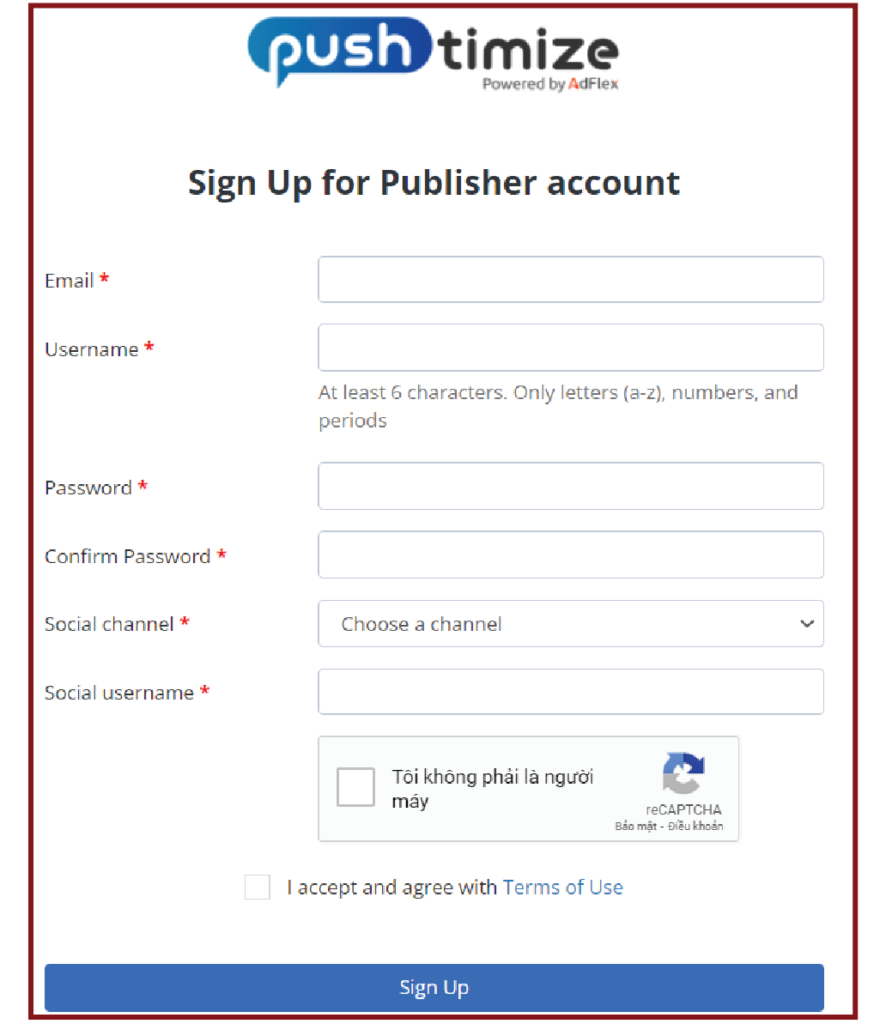
- email: enter the correct email to receive an account activation confirmation.
- username: enter your username
- password: enter the password to login
- Social channel: a communication channel to help supporter to contact publisher when needed
- Social username: the account name corresponding to the social channel above
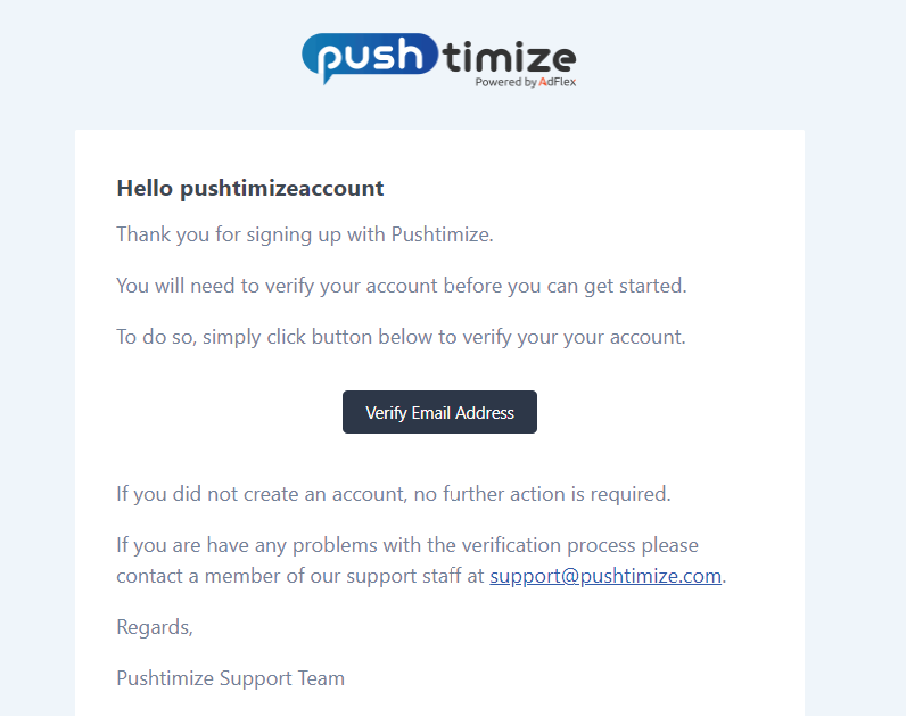
After registering for an account, go to your email to click on the link to make account verification.
Note: If you already have an AdFlex account, you can log in right away without a new registration.
Step 2. Add website to Pushtimize
Go to the Websites menu, click “New Site”
-> “I Have A Site”, a popup will appear
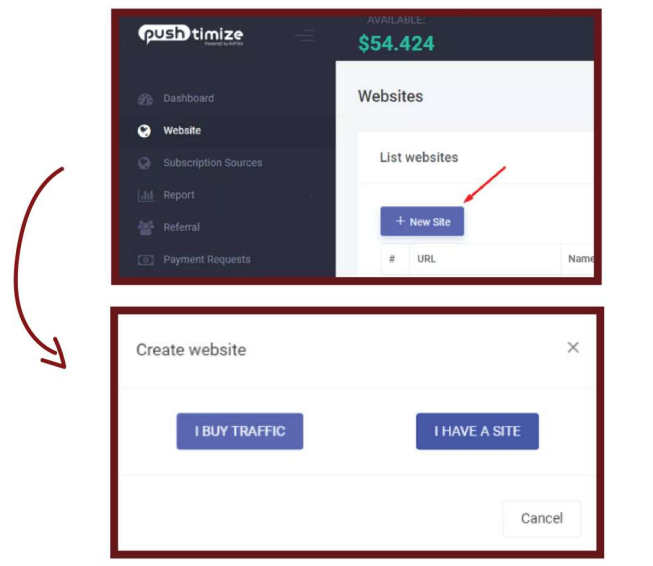
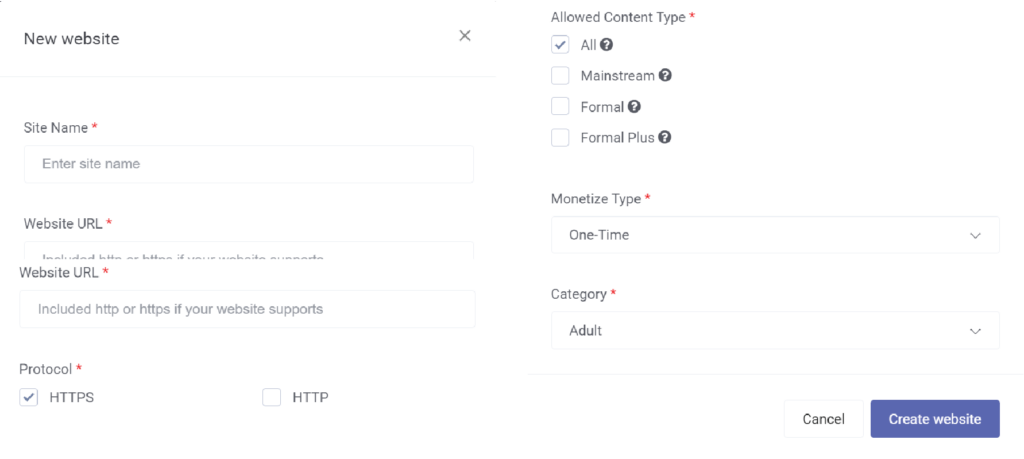
- Site Name: enter the name of your website, easy name to remember is suggested
- Website URL: fill in your full web URL including https if any
- Allowance Content-Type: choose the preferred type of cooperation with Pushtimize – Click to see the specific definition of each form
- Monetize Type: way to receive revenue
- Category: choose the type of field that the website wants to target
After fill in all information, click “Create”, Pushtimize will review your website as soon as possible.
Step 3. Install Pushtimize
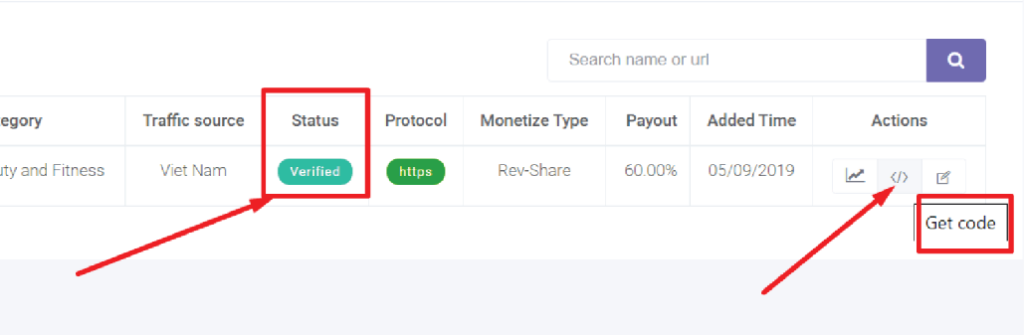
After the website is approved, click the “Get Code” button in the list of websites of the account to get the code provided by Pushtimize. Follow the verification instructions on the websites.
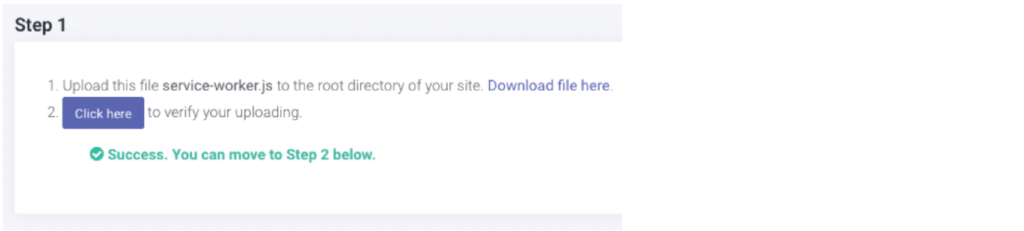
Download your folder
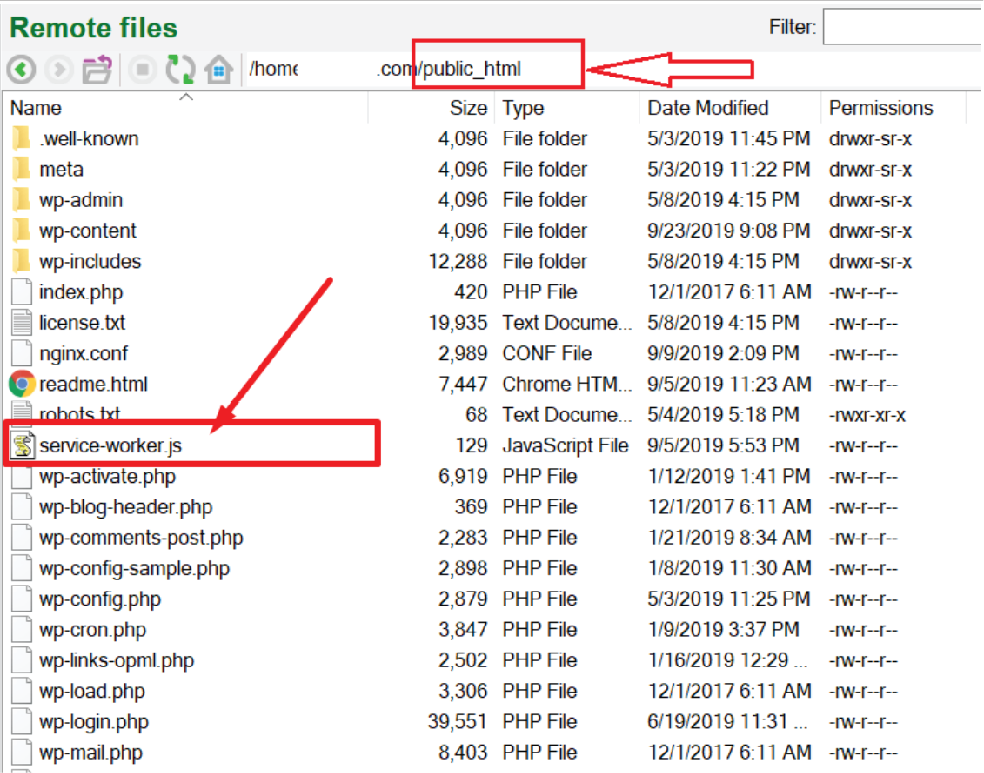
- Download file “service-worker.js” and upload that file to the root directory of your website
- Note, the root directory here is the “public_html” folder
- Here, depending on what FTP protocol you are using, there will be different upload methods
After uploading the “service-worker.js” file, click the “Click here” button to check if your file has been uploaded correctly. And when it appears “Success” then move on to the next step.\
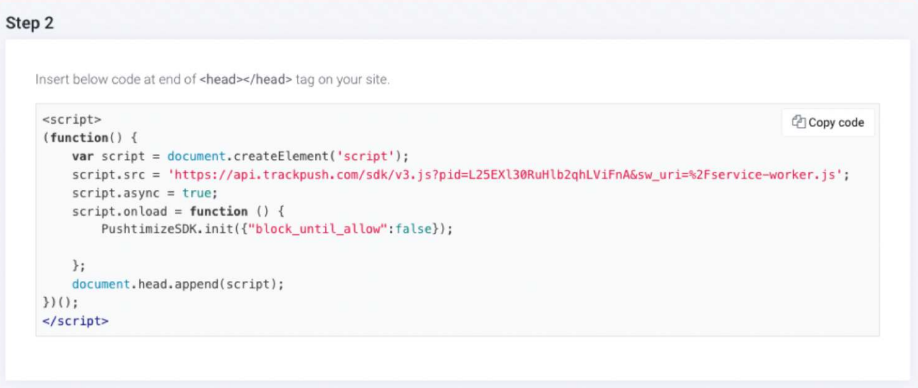
Paste the Pushtimize’s script into a tag on your page. Then, tick the “Automatically open in Google Chrome”.
- Publishers can use plugins to insert as insert header and footers.
Step 4. Payment Methods
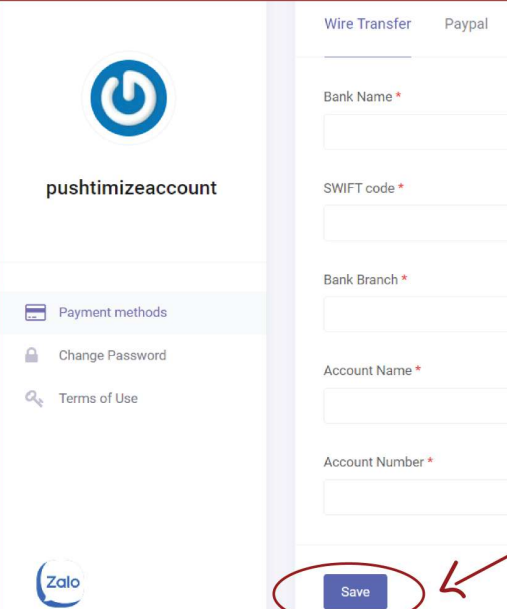
Pushtimize accepts the payment method as follows
- Bank transfer (with publishers in Vietnam)
- Withdrawal method via Payoneer and Webmoney (with both foreign and Vietnamese publishers)
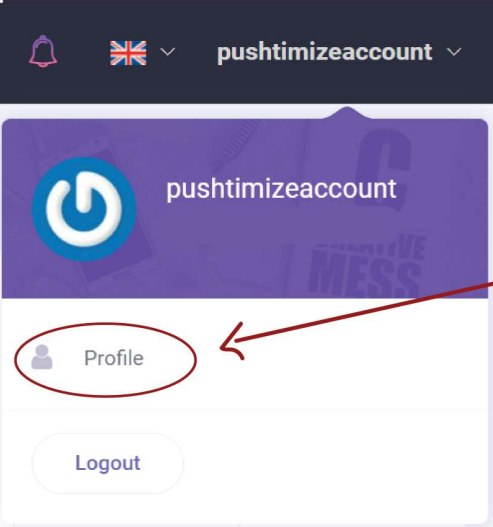
To update your information, click on your account name in the upper right corner of the screen and select “My Profile”.
Fill in your bank account information and click “Save”
Step 5. Withdraw money back to account
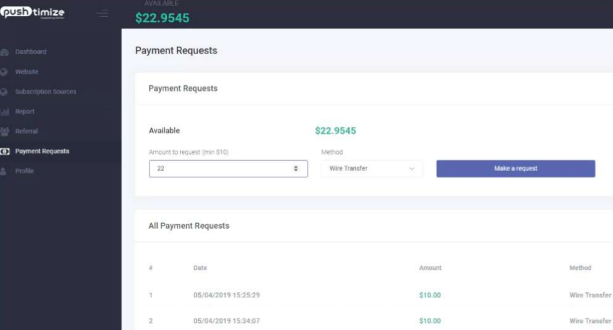
When Publishers have revenue and reach a minimum of 10$, they can make a withdrawal request at the Payment Requests menu. Pushtimize will moderate every Tuesday (excluding public holidays/ New Year in Vietnam) and approved Payment Requests will be paid in 3-5 days.
Enter the amount to withdraw, choose the payment method as Wire Transfer – transfer, then click “Make a request”.
That’s all of our instructions for Intergrating Pushtimize. If you have any questions, please contact us.
Our contact information
Phone number: 0869209698
Telegram: @xinchaopushtimize
Facebook: https://www.facebook.com/Pushtimize